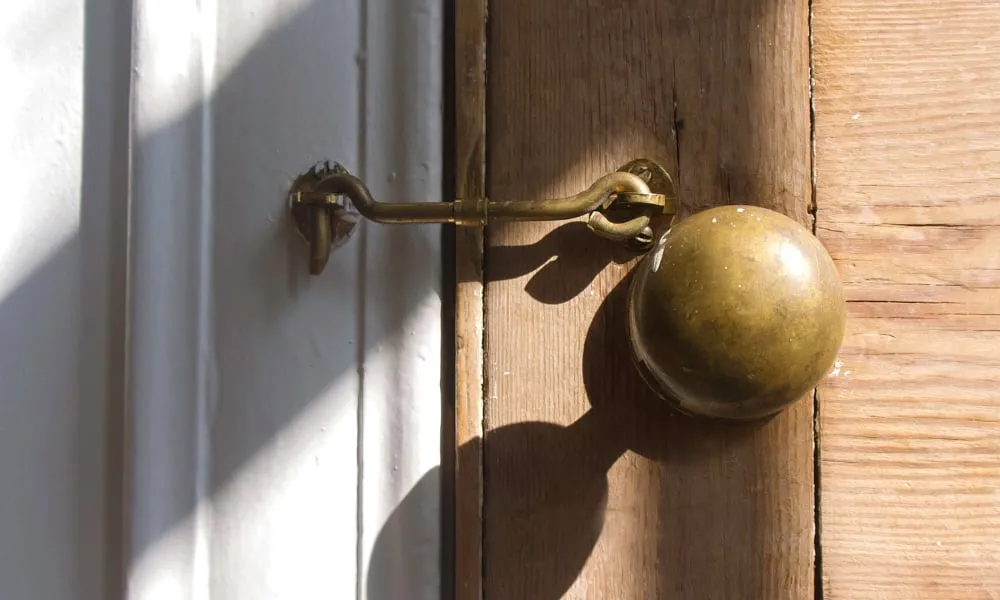
In our daily lives, locks play a crucial role in keeping our homes and belongings secure. However, like any mechanical device, locks can sometimes develop issues that need attention. Learning how to repair a faulty lock yourself can save you time and money, and give you a sense of accomplishment. Here’s a practical guide to help you tackle common lock problems on your own.
Assessing the Problem
The first step in fixing a faulty lock is understanding what’s causing the issue. Is the key stuck, or does the lock refuse to turn? Assess whether the problem lies with the key, the lock mechanism, or both. Sometimes, dirt and debris can clog the keyway, while in other cases, internal parts may need adjusting or replacement.
Tools You’ll Need
Before diving into the repair, gather the necessary tools: a screwdriver, lubricant (like WD-40), a key extractor (for broken keys), and replacement parts if needed. Having these tools handy will make the repair process smoother.
Step-by-Step Repair Process
1. Cleaning the Keyway
Begin by cleaning the keyway using a small brush and lubricant. Remove any visible dirt or debris that could be preventing the key from turning smoothly. Apply the lubricant sparingly to avoid attracting more dirt in the future.
2. Testing with Different Keys
If cleaning doesn’t solve the issue, try using different keys. Sometimes, a worn-out key can be the culprit. If a spare key works, consider getting a new key cut by a locksmith to prevent future problems.
3. Lubricating the Lock Mechanism
Apply lubricant directly into the keyway and around the lock mechanism. Allow the lubricant to penetrate for a few minutes before attempting to operate the lock again. This can often resolve stiffness or sticking issues.
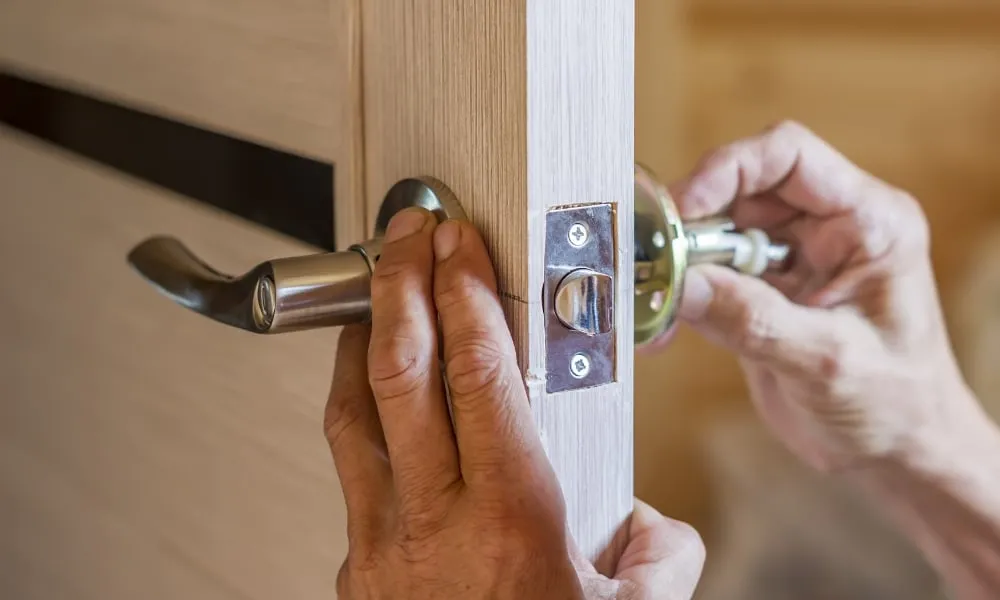
4. Tightening Loose Screws
Inspect the lock for any loose screws or fittings. Use a screwdriver to tighten them carefully. Loose screws can cause misalignment, making it difficult for the lock to function properly.
5. Adjusting the Strike Plate
Sometimes, a misaligned strike plate can prevent the lock from engaging smoothly. Loosen the screws holding the strike plate in place, adjust its position slightly, and tighten the screws again. Test the lock to see if this resolves the issue.
6. Replacing Worn-Out Parts
If the lock still doesn’t function correctly, inspect internal parts such as springs or pins. Worn-out parts may need replacement. Refer to the lock’s manual or consult with a locksmith to identify and replace these components.
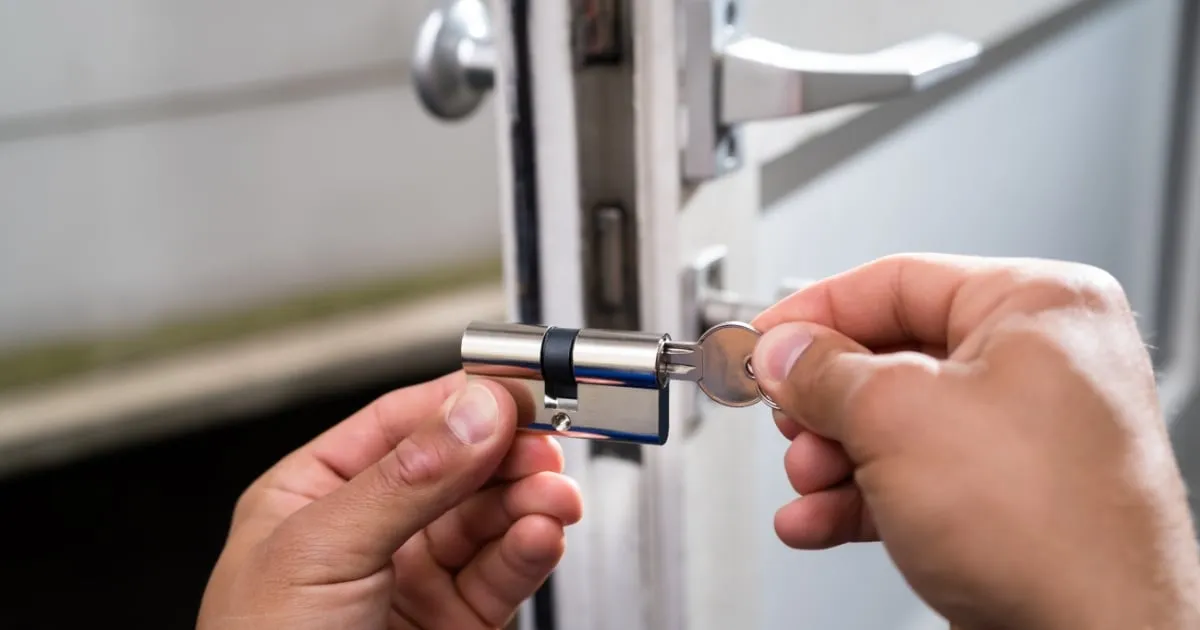
7. Key Extraction
If a key breaks off inside the lock, use a key extractor tool to carefully remove it. Avoid using excessive force, as this can damage the lock further. Once the broken key is extracted, clean the keyway thoroughly before attempting to use the lock again.
Safety Considerations
When repairing a lock, ensure your safety and that of others in your household. Work in a well-lit area and avoid rushing through the process. If you encounter a complex issue or feel unsure, it’s best to consult with a professional locksmith.
Mastering Lock Repair
Repairing a faulty lock yourself can be both empowering and practical. By following these steps and taking a methodical approach, you can often resolve common lock issues without needing to call for professional help. Remember, patience and attention to detail are key to successfully fixing your lock and maintaining your home’s security.